Thursday, June 12, 2014

Credenza before and after

This is my very officey credenza. It's actually a nice piece from a Herman Miller, but it just doesn't fit well in our home in size or in style. 

I do love its features, though, like the huge file drawer and the tiny side drawers. Most of all, I love the pull out shelf between the top and the shallow drawer. It is the perfect place to put my Silhouette Cameo when I use it. 


I took it apart and ended up with a steel base that I can use to build a cool bench for Jake and a much better size credenza. 


I filled in all of the holes from the hardware and sanded it smooth  After primer and a few coats of white paint, I added new drawer pulls from Home Depot.   The little drawers looked like library catalog drawers and found similar hardware at dlawlesshardware.com. 4 casters later, and I looove the results!


Monday, May 12, 2014

Office bookcase or why do I have enough lumber in my garage to build an enormous bookcase?

In my ongoing mission for storage and better organization , I decided to build a built-in bookcase in our office made entirely of lumber already in our garage. It would be a double win by decluttering my office and my garage at the same time. :)

There is blank wall about 64 inches long on the office wall with the double doors. You can't see it unless you are in the office, so an open bookcase that might get a bit messy will work well there.   I am planning on putting cabinets along the long wall, and an open look will complement those. 

I went through the Purebond plywood in my garage and determined that I could build a 60 inch wide by 47 inch tall bookcase. 5 inches of the 47 will be the base for the baseboard. 

I decided to build two boxes for each set of shelves because it's easier to make single units square, and the double center would be covered by the face frame anyway. 

I cut 4 strips of scrap wood the same length to use as shelf spacers. I could then make 3 shelves the same height and the bottom shelf would be a litle bigger. This looks good (kind of like anchoring the bottom) plus, I wouldn't have to bother trying to figure out the exact measurement or install shelves that were exactly equal in height. Sooo much easier!


Since the 3 of the 4 sides would be hidden, I decided to use screws on the sides to attach the shelves and cover the remaining side wth either beadboard or 1/4 plywood.


I screwed the two units together.


I primed and painted the bookcase before installing it. I used shims to make it level, and then attached it to the wall.


After I installed the baseboard, I screwed a 1 x 12 white pine board to the top. The top was finished using a1 x 12 poplar board with a 1 x 2 to cover both the pine and poplar. This makes the top a nice thick 1 1/2 inches. The mitered corner was perfect, so it looks like a solid finished piece. 

Some caulk and a final coat of paint, and the built- in is complete.  The final picture is coming soon!

I haven't decided yet how to finish the area above the bookcase yet. Right now, I am thinking of installing galvanized steel to track orders and framing  it with either small shelf towers or 1 x 2s. 


Friday, April 18, 2014

Office mess

My office is an extremely unattractive place. I have office furniture that is actually office furniture as in it was made to be  in an office building. It's nice Herman Miller office furniture but it's very officey.

This room has such great potential with the pretty windows and the tray ceiling, and so I think I'm going to redo the entire room. I'd like to do built-in cabinets and bookcases on the one long on interrupted wall so that a lot of the stuff can be hidden behind the cabinets and maybe the bookcases can be styled so that it looks attractive. I have an old bookcase on the short wall behind the door, but it is a very cheap bookcase, And it is as unattractive as it is poorly functioning.

I need to repurpose the credenza. It's a very solid piece of furniture but I don't need The top and all that additional storage. The bottom drawer is a hanging file drawer and has tons of space. I love the shape of the little side drawers because it's great for storing things like filling the blank here.


The desk is actually pretty cool because it is a drafting desk. You can raise or lower the height of it and the back section tilts up so that you can look vertically at papers books etc. I think I'm going to use this as a desk for Jake at some point upstairs. The metal base could be spray-painted with the galvanized coating and the top painted gray or black and then it would follow with the industrial theme that were using in his room. I think instead of building a desk from scratch because I have so much building to do that I am going to look for used desk that I can repurpose and restore and then paint the same color white as these others. I'd like something with some drawers again to hide things away so that the office doesn't look quite as messy. I'm hoping that on one side it will be big enough that I could build shelves and store the printer there so that it is out of sight.


Lighting is going to be really big issue in this room since there are no overhead lights I'll need to figure something out for that. Also this office gets the afternoon sun and it gets really unbearably hot in this room. The blinds have to stay closed most of the day to help keep the sun out to help keep it cooler. I would love to install some lights at the top of each of the cabinet bookcases like this http://thriftydecorchick.blogspot.com/2012/10/library-bookcases-done-boom.html.  Love her blog!

I will need task lighting for the desk and then something else to try and get it a little brighter here at night.


Friday, April 11, 2014

Do you know the one about a boy who walks into a bathroom...

If you are the mother of a boy, you probably do.  This is what it looked like before.


This is what it looked like 3 minutes later.


Saturday, March 1, 2014

Kitchen window makeover


The kitchen table area of the house has been getting attention a little bit at a time.  The full size table has been replaced by a smaller pub style table.  It is 48" square, and so both the smaller size and higher height fill the space much better.  The new light is a double pendant that sometimes looks white and sometimes looks cream which works really well with the various shades of white to cream in this area.

The problems that remained were:

1.  Woven shades - As much as I love the look of the shade itself, it is more of a golden color which isn't great with the grey beige walls.  I need to cover the roller part with something, and over the past couple of years I have tried almost everything.  I made a raw silk valance which looked fussy.  Curtains didn't look right.  I thought about a padded cornice board, but it really isn't my style.  I even drew up plans for wood cornices, but I need to use that option in the family for the sliding doors, so it seemed like 5 more would be too much.

Also, they are not energy efficient at all, and this part of the house gets sun most of the day.  It is uncomfortable to be at the table during certain times of the day during summer.

I finally decided that the big empty boxes that are my builder grade windows were the problem, and that I wouldn't like anything until they were trimmed out.

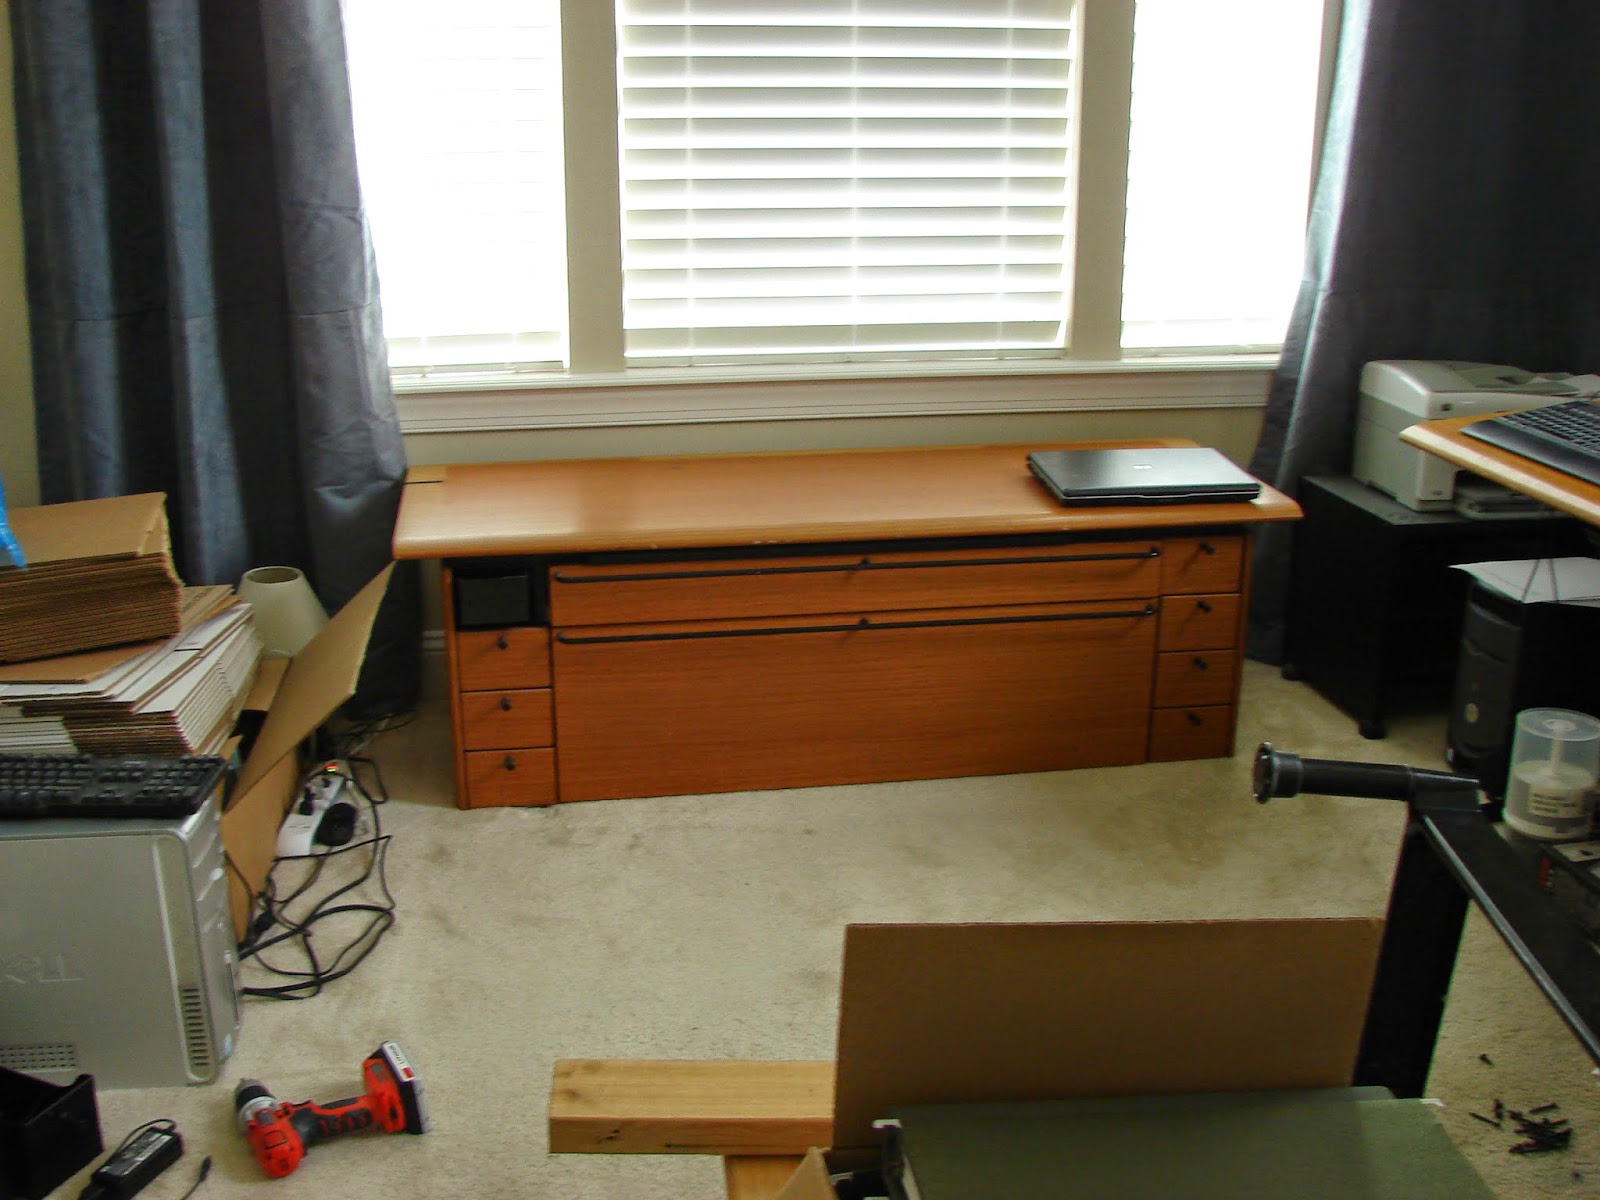
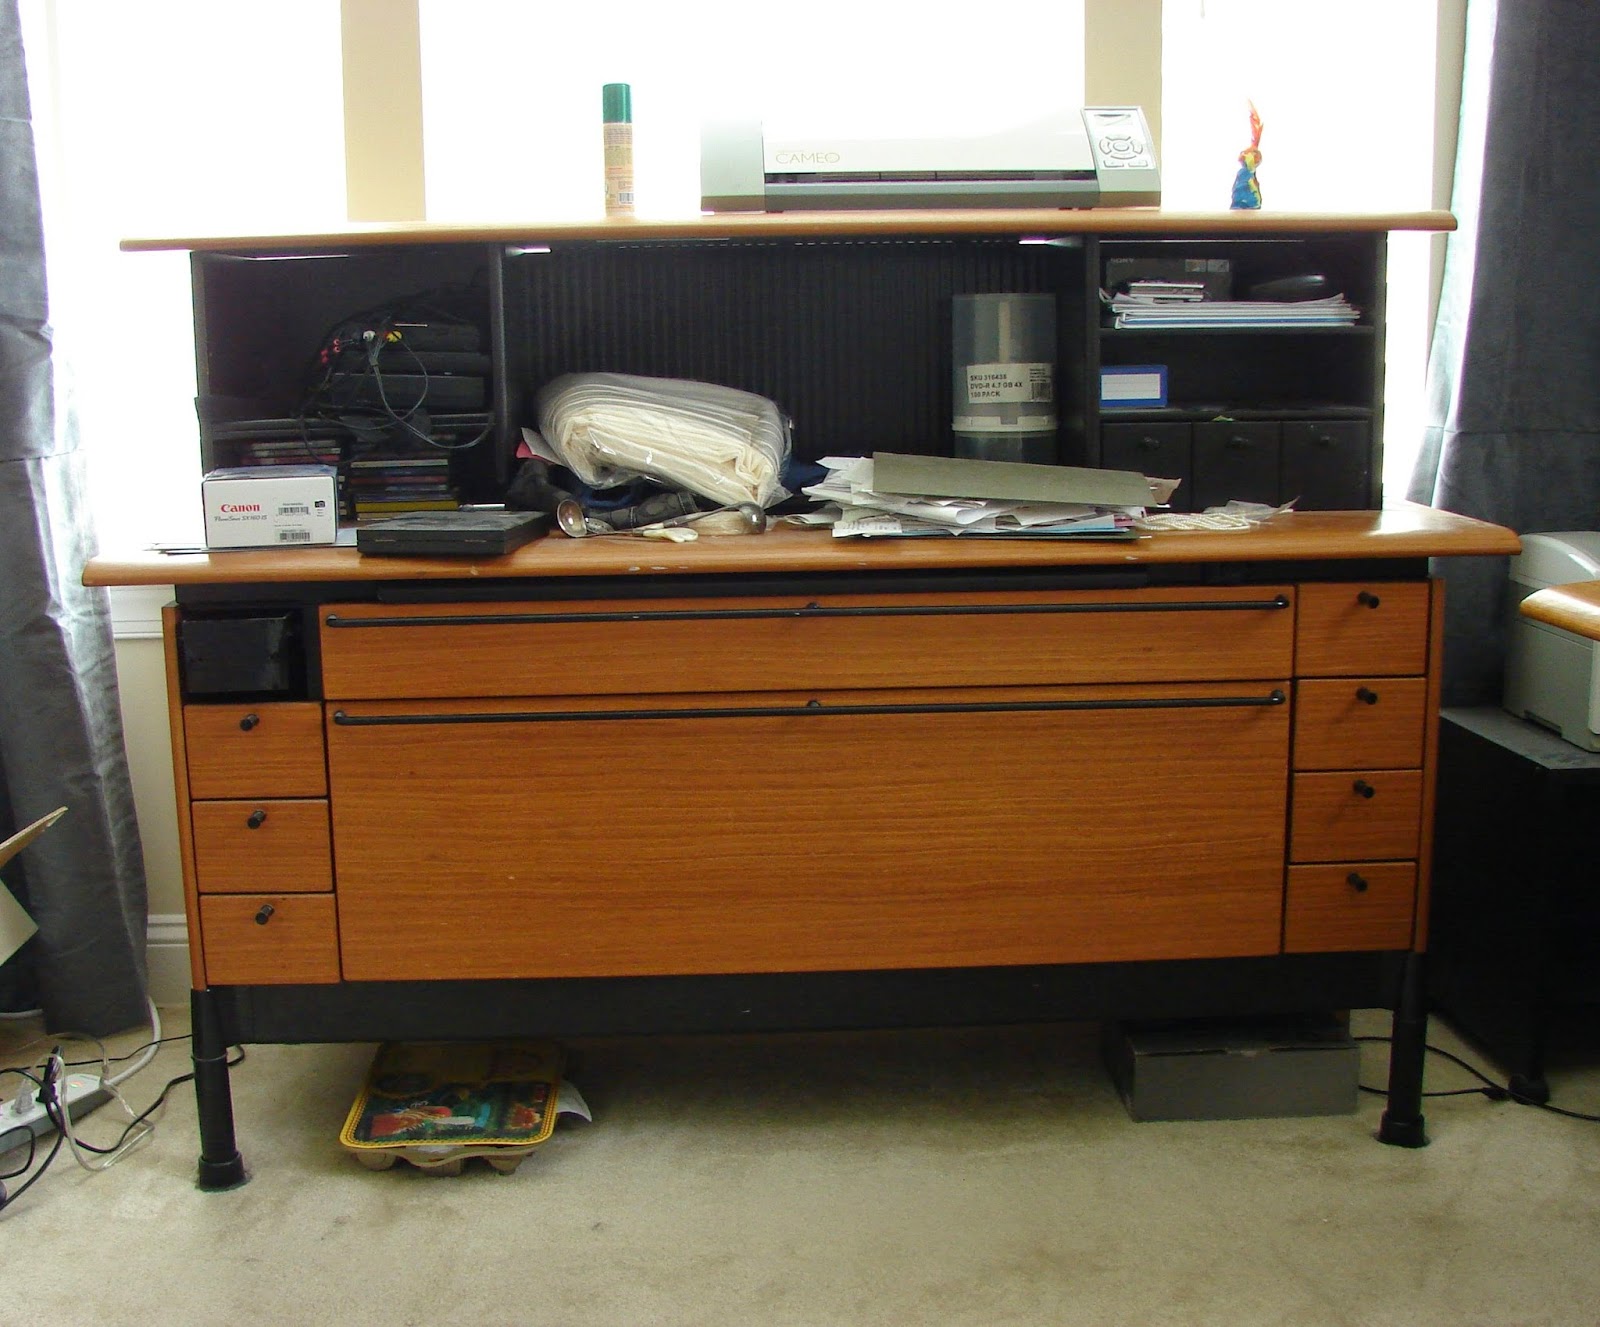
2.  Jake's school and craft supplies - The black shelving unit underneath the window is as ineffective at storage as it is unattractive, so it had to go.


Problem #2 was the quickest to solve.  I read something about organization that was based on the idea that you never have forks lying around the house, because you always know where the forks go.  Duh - genius! Therefore, you need a place for things if you want them to be put away.   Most people probably already know this kind of stuff, but I don't get a lot of stuff.  I didn't even know that the government changed the various bills for money until about 3 years after they did it.  (Honestly, I showed my husband a $20 that I thought was counterfeit, and he just shook his head muttering something about how he couldn't understand how I managed to function.  I have a huge list of basic things that I had no idea about or that I had completely misunderstood.)

Anyway, in the lower right hand corner,  you can see just the tip of my kitchen counter and cabinet.  I stored by biggest pots (like triple recipe gumbo pot) and other things I rarely used in that cabinet.  It was opened maybe once a month, so it wasn't a great use of the space.  Plus, my cabinets have pull out upper shelves, which are incredibly convenient.  Once I got over the resistance to using my cupboards for something that is not a kitchen item, I realized that Jake's supplies could be stored here.  It is more practical and efficient, and I never have to look at it.  Problem solved!

Next up, new window trim.  :)

Tuesday, February 18, 2014

Arched wood blind trim

There are arches throughout our house, and our windows are no exception.  We have "eyebrow" windows.  It is a slight arch and each window is a bit different.  With full arches, you can find some options to purchase ready made window coverings - not with eybrows.  Not only is each window a slightly different size/shape, a single eyebrow isn't usually symmentrical.  On one of our windows, the right hand size was a full half inch larger than the left.

I found some 2 1/2" blinds that I really liked and spoke with the company's service department to see about getting custom trim to cover the gap left by regular blind trim.  They told me that it could run a couple hundred dollars per window, and that I would need to trace the shape with a piece of paper and send it in to them to cut.


The trim that came with the blinds is just the standard window casing that I used to trim out my windows.  Each piece a notch cut out of the back, so that two metal pieces could be placed in the notch and then twisted to lock them in place.  It was kind of an upside T shape to the groove.

I decided that if the window company could cut a shape from my paper tracing, then I could, too.  I initially thought to just replace the whole trim for the eyebrow, but I don't have a router bit to make the T shaped groove.  I didn't want to wait to get one shipped to me, and I didn't want to worry about getting it straight.

I decided to join a new piece of casing to the shipped trim.  I traced the curve with the standard trim installed and marked the top of that trim.


Using my DeWalt multi-tool, I cut the curve and then sanded the edge.  The bottom line of the trim in the picture looks a bit wavy, bit it is the factory edge, so it is straight.


I then glued the new curve to the standard trim.  It took a lot of clamps, and I used some nails for additional strength.  I also put tape along both edges so when I finally caulked the gap, clean up would be easier.  Any extra caulk would pull off with tape.


I did need to spot sand a few areas to make sure they had a good fit.  A coat of paint on each window blind trim in our standard trim color brought it all together. 

I am really pleased with my $4.53 solution!